I was asked by one of my friends to do a makeup tutorial so that they can see how I do my makeup. It's kind of a lengthy process to go through step by step in words. I have yet to figure out how to record myself hands-free, so I decided to make a visual tutorial using photos.
I'll show and tell how I go from this:
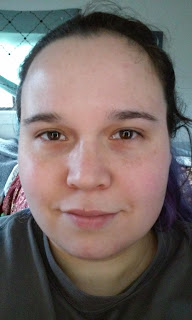 |
| Fresh-faced, just after washing. |
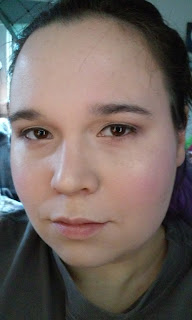
to this:
 |
| This is the final outcome. |
The first step after washing your face is to use a toner. Good skincare is key to beautiful makeup. That way you don't have to spend as much time hiding and concealing every inch of your skin. You're just going to enhance and paint on the beautiful canvas that you already have.
 |
| When using toner, make sure that you use upward strokes to remove any lingering dirt or oils that may have been left behind. Make sure that you follow up with a serum, lotion, or both (depending on your skin type). |
After applying moisturizer (serum in my case), use a face primer, applying dots in the center areas of your face. Then smooth all over your skin to create a soft and smooth canvas. Then using a liquid or cream foundation, once again apply dots of the product onto the center areas of your face.
 |
| Dots of foundation on the center areas of my face. |
You can spread the foundation all over your skin using a brush, sponge, or your fingers. Most people will not recommend using your fingers though because if you have any oils or dirt on them, they will transfer to your face and could lead to blemishes, blackheads, or acne. Depending on the type of application tool you use, that will determine how you spread the foundation.
 |
I like to use a round foundation brush with tightly-packed bristles to apply my foundation..
|
 |
| When using a round brush, spread the foundation using a circular motion. This will help create an air-brushed look |
After applying the foundation, I like to apply the concealer to the dark circles and dark areas around my mouth. If I'm having a sleep deprived day, or my circles are just extra, I'll apply concealer before and after my foundation. I prefer a cream to liquid concealer. Using my fingertip, I apply small dots on my face.
 |
| When applying concealer under the eyes it's best to apply it in a triangular pattern so that it looks more natural when it's all blended in. |
Let the concealer sit on your face for a good two minutes so that it can bake. Baking your concealer will help it blend in with your skin more smoothly.
Use either a flat sided brush or your fingertip and pat the concealer to blend it in. Don't tug on your delicate under-eye skin as it could lead to wrinkles and sore skin.
 |
| I tend to use a thicker concealer cream, so there is a little bit of a shine. |
Once the foundation and concealer are done it's time for contouring. First apply the contouring shade to the areas that you want to define and make look a little slimmer. Typically contour is applied to the hollows of the cheeks, the corners of the forehead and along the hairline, the sides of the nose, and along the bottom jaw line. I also like to apply a little bit underneath the bottom lip to make my lips look more pouty.
 |
| Everyone uses a different pattern when contouring. I don't even use the same one all of the time. |
If you are in a hurry or intimidated by contouring and shading your face I recommend using contour powders or bronzer. I'm using cream contour because I want to show the patterns that I'm using, and creams make it more visible. After applying contour, use a highlight (usually one or two shades lighter than your concealer color) to accentuate and show off the parts of your face that you want everyone to admire. Cheekbones, the center of the chin, the center of the nose, and the middle of the forehead are the most commonly highlighted areas. I also like to add a little highlight underneath my cheek contouring to make the contour shade took a little sharper.
 |
| When choosing shades for contour and highlight, contour should be a few shades darker than your foundation (about the same as your bronzer), and highlight should be about two shades lighter than your foundation. |
I'm using creams to contour my face, so blending with either a sponge or a flat round brush will give me the most natural blending. I decided to go with a sponge this time.
 |
| I like to use the round side of my sponges to blend the contour on my face, and the pointed side for the contour on my nose. |
Depending on how dark you want your contouring to be, you can add a darker shade to the hollows of your cheeks, or just stick with a more natural looking contour like what I'm doing.
 |
| Contouring is a lot like painting or drawing. It's all about shading. |
If you're blending right, you shouldn't see any sharp lines.
 |
| You can see the contour on the nose a little better in this picture. |
After contouring, I set my makeup. First I use a banana/yellow colored powder to set my undereye makeup and to better hide any purple tones that are underneath my eyes.
 |
| Using a circular motion and a very light touch, I sweep the yellow powder underneath my eyes. |
After setting the undereye area, it's time to set the rest of the makeup using a setting or translucent powder.
 |
| Use a large fluffy brush in a circular pattern to apply setting powders. Be sure to shake off any excess powder before applying the brush to face. |
Setting powders help to blend your contouring into the rest of your face and blur any edges as well as helping your makeup stay matte and on your face longer.
 |
| After light contouring and setting powders. |
This time I chose to apply my blush AFTER setting my makeup, but you can apply it before the setting makeup if you want it to blend in a little better.
 |
| There are many types of blush brushes out there. This time I decided to use a pointed blush brush to keep the blush area smaller. |
When applying blush make sure to use a light hand, otherwise you will end up with a very dramatic flush. Start by applying from the apple of the cheek and blending upward towards the hairline, following the cheekbone.
 |
| Blush helps to create a warm look to your makeup. It helps you to look more alive. |
After the blush comes my favorite part! Applying highlighter/illuminator! I'm so happy that strobing became a trend because I can't get enough highlighters. I love the shiny glittery glow. It's best to apply using a stipple or fan brush so that you don't over do your highlight and blind someone. With a good quality illuminator you should only need to barely tap your brush to the pan.
 |
| Make sure to barely tap the highlight to your skin and build up for a brighter beam. |
Apply the illuminator/highlighter to the cheekbones, the bridge and tip of the nose, and chin to draw attention to the center of your face. You can also apply it to your T-zone, but if you have a big forehead I wouldn't recommend it.
 |
| Highlighting/strobing creates a glow and focuses attention to the center of your face. |
 |
| I love a good glow! |
After I have my face done it's time to move onto the eyes. First apply an eyeshadow primer using either a brush or your fingertip.
 |
| A tiny dab of primer usually goes a long ways unless you are brave enough to work with glitter. |
Tap the primer along the upper lid and into the brow bone until it is blended in and only slightly noticeable. Leave no harsh lines as they will cause your eyeshadow to be bumpy and crease.
 |
| Make sure your primer is smooth so that your shadow doesn't crease. Also make sure that it's not wet, but slightly sticky so that the eyeshadow doesn't move. |
Using a fluffy or all over shadow brush, apply the lightest color all over the brow bone and very lightly on the eyelid.
 |
| The base color helps to set the eyeshadow primer and helps the other shades stand out. |
After the base color, add the transition shade (with an all over shadow brush) in the crease and just above the crease. Use a light tapping motion if you want more pigment, and lightly sweep to blend out the edges.
 |
| I'm going for a somewhat nude color scheme so this transition shade is only barely noticeable. |
Using a pointed/pencil tip brush, add the darkest shade to the outer corner of the eyelid and lightly blend it into the crease of the eyelid. Remember that your brush will pick up a lot of pigment, so barely tap and blend the color in, using a light sweeping motion from the outer corner to about the middle of the crease.
 |
| Your eyes can get very dark very fast. Remember a light hand and blend, blend, blend. |
I'm adding a little bit of the darkest shade to the bottom outer corner of the eyelid to give it just a little bit of a smoked out look and to balance the upper and lower lids.
 |
| Lightly smoking out the eyes will give the illusion of a longer and bigger eye. |
 |
| You can see the shading in the creases and the corners of the eyelids. |
All of the shading is done, but the crease color has taken over more of the eyelid area than I want it to. So I'm going to very lightly tap on a light shimmery shade the the center and inner part of my eyelid to make my eyelids look bigger and brighter.
 |
| Eyeshadow complete. |
 |
| Adding that shimmery light shade to the center of the eyelids made a big difference. |
After the eyeshadow I apply my eyeliner. Lately I've been obsessed with brush tip liquid liner pens. They allow me to make a thin and precise eye line. There are many ways to apply eyeliner but I usually just start from the inner corner and make my way across the eyelid in small sections. After I line the eyelid, I use the eyeliner to fill in underneath the eyelashes to make my eyelashes look fuller at the roots. Then I like to lightly line the bottom outer corner to almost the middle of my lower waterline (eyeline).
 |
| I don't want a thick eye line this time around so that we can see the shading. |
It's amazing what a difference eyeliner can make.
 |
| You can't really see the definition with my eyelids down... |
 |
| ... but you sure can see the difference with my eyes open. |
With the eyeliner done it's time to move on to the eyelashes. First step is to curl them.
 |
| I own a few really fancy eyelash curlers, but these cheapos do the trick for me. |
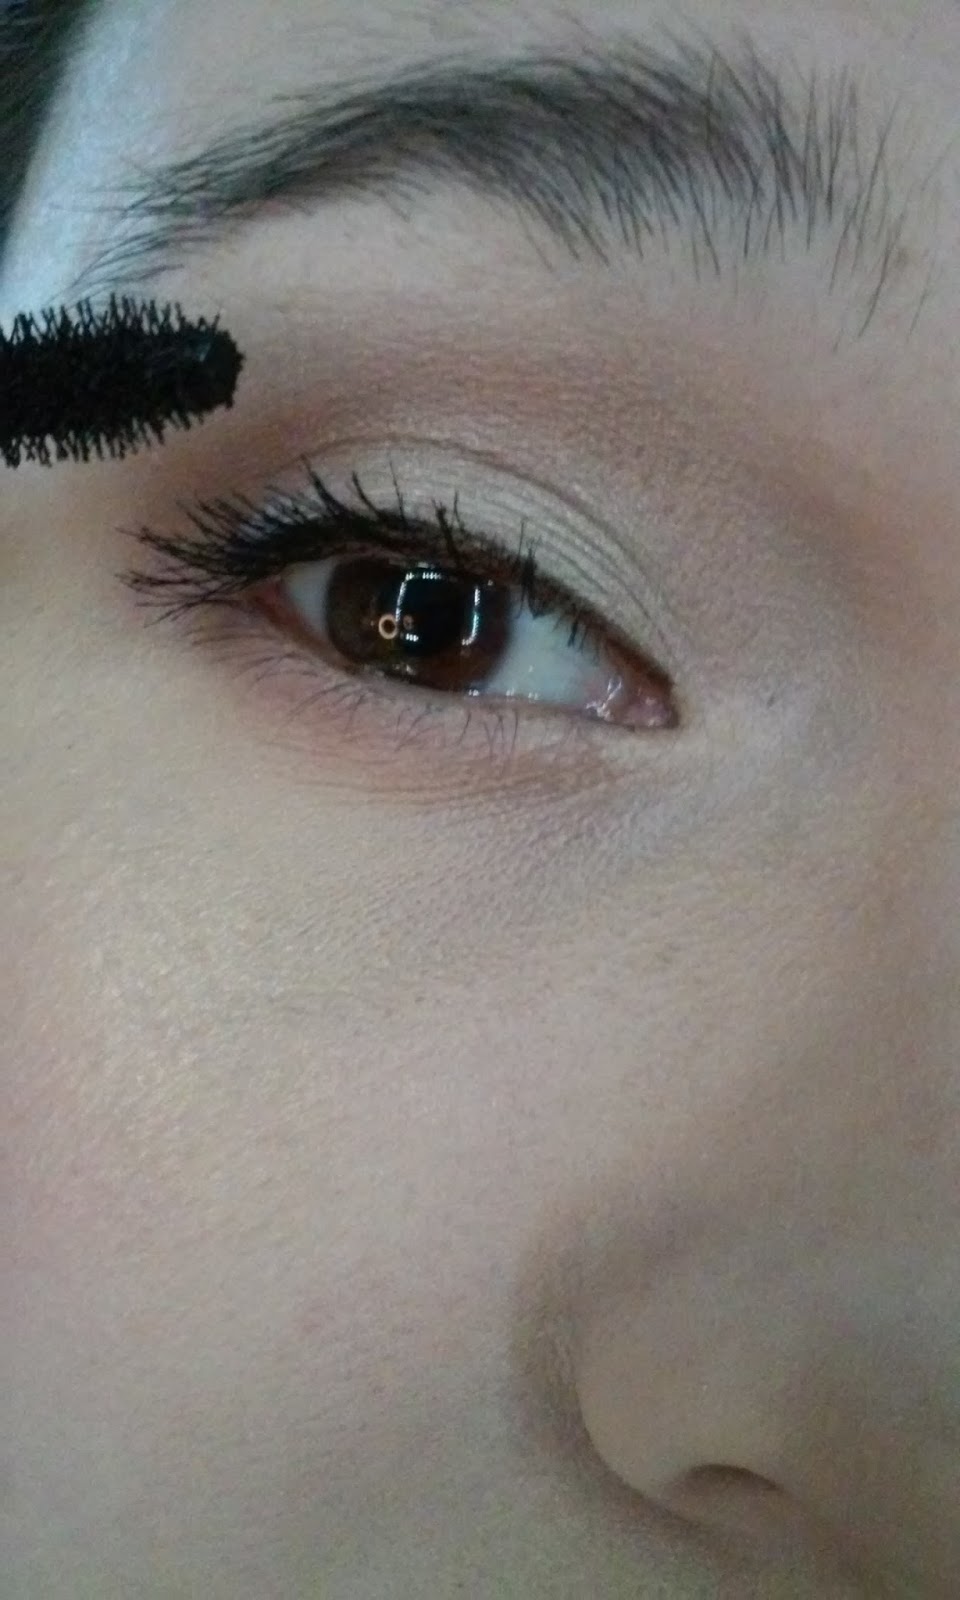
Since the lashes got their workout and are now in shape, it's time to coat them in a bath of beautifully dark mascara.
 |
| If I didn't wear mascara, you wouldn't be able to tell I had eyelashes. |
 |
| I prefer my natural lashes because I haven't gotten the hang of falsies yet. |
All that's left to do is my lips. I start by prepping them, this time I'm using lip balm.
 |
| I'm going to be using matte liquid lipstick which is very drying with regular use, so I'm choosing lip balm to prep with. |
After my lips have been prepped I use a lip liner to define the shape of my lips and to shade in the outer corners for more definition.
 |
| Try to either match your lipstick shade or go one shade darker so that they match up unless you are going for a different effect. |
After the lips have been lined, fill in using a lipstick. In this case I'm using a liquid lipstick. They are my other obsession.
 |
Matte lipsticks are great if you constantly worry about getting lipstick on your teeth. They don't travel like lipglosses do.
|
And now I'm finished!
Thank you for reading. I hope you enjoyed it. Let me know in the comments if you have anything makeup or beauty related that you would like me to write about.
Products used in this tutorial and in order: (I purchased these all myself, I'm not being paid to do this)
-Leaders Aquapore toner
-Benefit the Porefessional primer
-Mirenesse Revolution 3-in-1 foundation
-It Cosmetics Bye Bye Under Eye concealer
-Memebox x Yeon du Kong shading stick
-Memebox x Yeon du Kong brightening stick
-NYX banana pressed powder
-City Color HD setting powder
-Mirenesse Cheeky Blush
-NYX illuminator
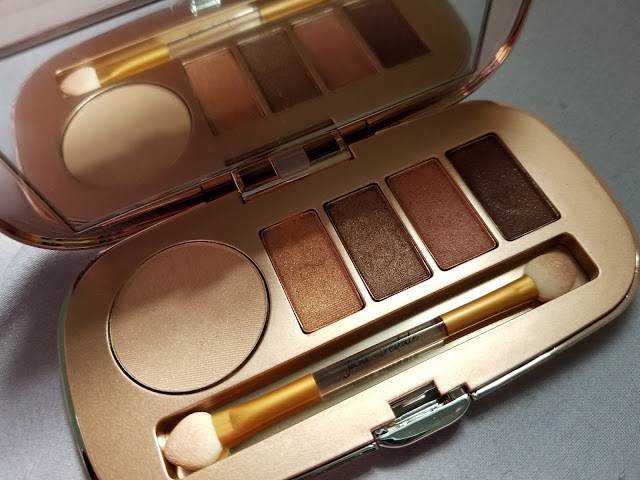
-It Cosmetics Naturally Pretty Celebration eyeshadow palette
-Memebox x Jungsun eyeliner
-Tarte Lights, Cameras, Lashes mascara
-NYX lip liner
-OFRA Long Lasting Liquid Lipstick


Omg yay! Thank you so much for this post. I need more primer and contour supplies. Also more brushes. Really I should just take you shopping with me!
ReplyDeleteOmg yay! Thank you so much for this post. I need more primer and contour supplies. Also more brushes. Really I should just take you shopping with me!
ReplyDeleteI'd love to go shopping with you! I recommend the e.l.f. brushes if you don't want to invest a pretty penny. They are great quality. <3
Delete